
Boot Camp helps you install Microsoft Windows on your Mac. After installing, restart your Mac to switch between OS X and Windows.

- An Intel-based Mac
- A Microsoft Windows installation media or disk image (ISO) containing a 64-bit version of Microsoft Windows 8 or later*
- An Apple keyboard, mouse or trackpad, or a USB keyboard and mouse
- At least 55 GB of free disk space on your startup drive
- For some Mac models, you also need a blank 16 GB or larger USB flash drive
Check System Requirements
Some versions of Windows require a certain processor, and more hard drive space and memory (RAM) than others. Check the documentation that came with your copy of Windows to find out what you need. Then use System Information to see what your Mac currently has.
Get a Windows disk image
When you purchase Windows, it comes as a disk image file (ISO) that you download, or as an installation disc or USB flash drive. If your copy of Windows came on a DVD, you should create a disk image of it to work with Boot Camp. If your version of Windows came on a USB flash drive, you can download an ISO from Microsoft.
[Create an ISO image for Boot Camp from Windows installation media
You need to use an ISO of your Windows install media to use with Boot Camp. If you don’t, you might see the message “press any key” or your Mac might restart to OS X when you try to install Windows on your Mac.
Create your own ISO
Use these steps to make an ISO copy of your Windows DVD or USB flash drive:
- While your Mac is started from OS X, insert the Windows installation DVD in an external optical USB drive or connect your Windows USB drive to a USB port on your Mac.
- After the install media mounts in the Finder, open Disk Utility from the Utilities folder (choose Go > Utilities).
- Select the USB optical drive or Windows flash drive so it’s highlighted in the Disk Utility window.
- Click the New Image icon at the top of the Disk Utility window.
- Choose DVD/CD master from the Image Format menu, then choose none from the Encryption menu.

- Give the new file a name, then click Save. The Creating Image window appears with a progress bar. It might take some time to create an image file from your Windows install media.
- After imaging is done, select the Windows install media in the disk list, then click the Eject button at the top of the Disk Utility window.
- If you’re using an external optical drive, disconnect it from the USB port after the DVD ejects.
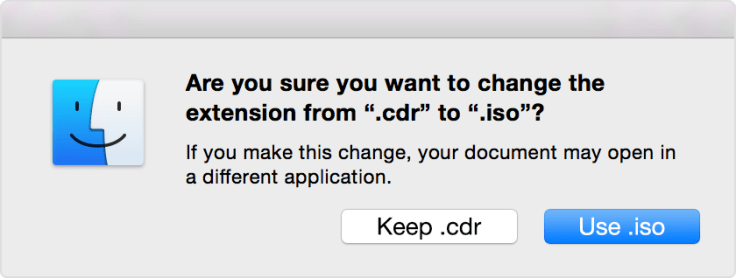
- From the Finder, locate the disk image file you created earlier. Single click on it to select it, then press the Enter or Return key on your keyboard to rename the file. Change the disk image file extension from .cdr to .iso. When prompted, click “Use .iso” to verify this change.
Make sure your device is “removable”
When creating an ISO image or copying drivers to a USB flash drive, make sure the device you’re using works as a removable drive. Some devices mount as a fixed storage device and can’t be ejected.
Connect your flash drive or SD Card, then try to eject it from the Finder. If you don’t see an option to eject the drive in the Finder sidebar, this device can’t be used to install Windows.
Use Boot Camp to install Windows from your ISO file
After you’ve created your ISO file, use Boot Camp Assistant to install Windows on your Mac. When you’re prompted to select which tasks you want to perform, make sure you have all three tasks selected:
✓ Create a Windows 8 or later install disk
✓ Download the latest Windows support software from Apple
✓ Install Windows 8 or later version

When you click Continue, Boot Camp Assistant prompts you to locate the ISO file you created. Select it and click OK to begin installing Windows.]
Open Boot Camp Assistant
Boot Camp Assistant guides you through installing Windows on your Mac. Open this app from the Utilities folder in the Applications folder and follow the onscreen instructions to automatically repartition your startup disk and download related software drivers for Windows. If you’re prompted during installation, connect a blank USB flash drive.
Format your Windows partition
When you complete the assistant, your Mac restarts to the Windows installer. When you’re asked where you want to install Windows, select the BOOTCAMP partition, then click Format.
Install Windows
Follow the onscreen prompts to finish your Windows installation.
Restart your computer
After Windows is installed, you can switch between OS X and Windows. Use the Startup Disk preference pane in OS X, or the Boot Camp system tray item in Windows to select your startup disk, then restart your computer.
(Set the default operating system
- Do one of the following:
- In OS X, choose Apple > System Preferences, then click Startup Disk.
- In Windows, choose Boot Camp Control Panel from the Boot Camp system tray item.
- Select the startup disk with the operating system you want to use by default.
- If you want to use that operating system now, click Restart.)
How to choose a startup disk on your Mac
You can tell your Mac which disk to start up from when more than one startup disk is connected.
Set the default startup disk
You can change the startup disk your Mac automatically uses from System Preferences.
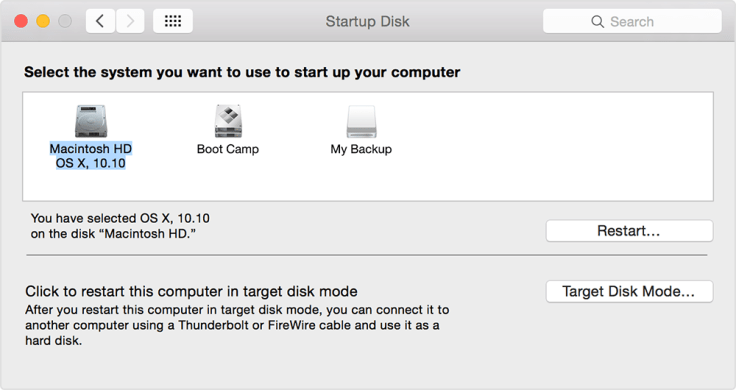
- From the Apple menu choose System Preferences.
- Click the Startup Disk icon in System Preferences, or choose View > Startup Disk.
- Select your startup disk from the list of available volumes.
The next time you start up or restart your computer, your Mac starts up using the operating system on the selected volume.
Temporarily change your startup disk with Startup Manager
Startup Manager allows you to pick a volume to start from while the computer is starting up.
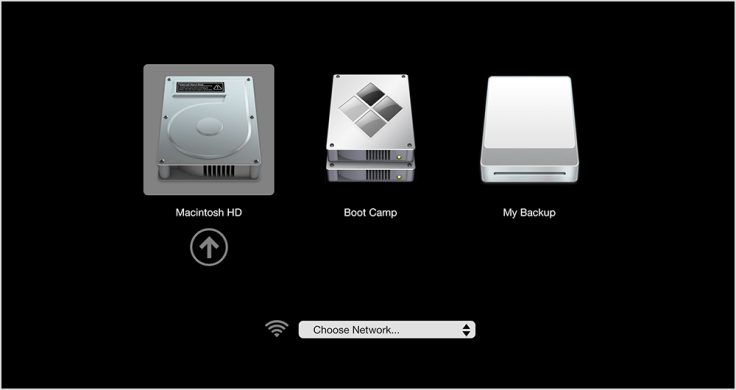
Use these steps to choose a startup disk with Startup Manager:
- Turn on or restart your Mac.
- Immediately press and hold the Option key. After a few seconds, the Startup Manager appears. If you don’t see the volume you want to use, wait a few moments for Startup Manager to finish scanning connected drives.
- Use your mouse or trackpad, or left and right arrow keys to select the volume you want to use.
- Double-click or press the Return key to start up your Mac from the volume you selected.
If you have an optical drive connected to your computer, you can insert an installation disc to see it in Startup Manager. You can also attach FireWire or USB external hard drives that contain an operating system to add to the list of startup volumes. Startup Manager automatically adds bootable volumes as you connect them.
Restart in OS X from Boot Camp
If you have started up your Mac in Windows using Boot Camp, you can use the Boot Camp system tray to switch your startup disk default back to OS X.
- In Windows, click the Boot Camp icon in the system tray.
- From the menu that appears, choose Restart in OS X.

Leave a comment