
we will be creating a bootable Windows 7 x64 USB using Rufus.
Things you will need:
- Your bootable ISO of choice. I will be using a Windows 7 Ultimate x64 ISO
- Latest version of Rufus (I am using version 2.7)
- A spare USB stick (The size of the USB required will vary depending on the size of the ISO you are using. in this case you will need 8GB USB)
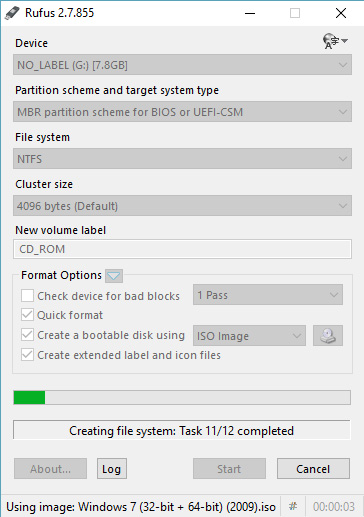
Once you have the required items, you can start by opening up Rufus. Don’t worry about any of the settings here as Rufus will automatically do this for you depending on the type of ISO you are using.
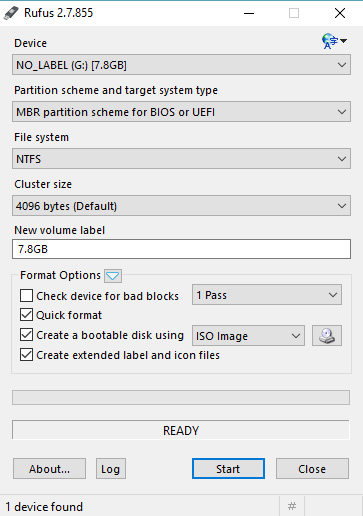
By default, it will appear to have many of the options blank until you connect your USB. Once you connect the USB, these fields will be automatically filled for you.
connect your USB to your computer.
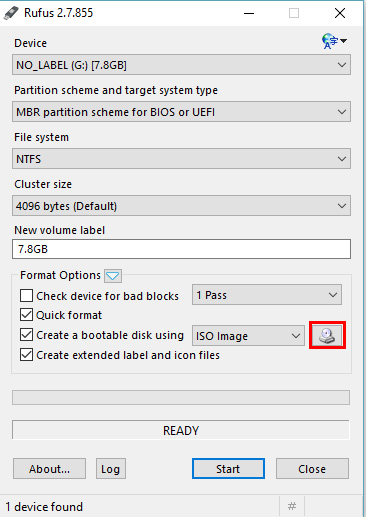
Now we need to select our ISO. (in my case the Windows 7 ISO) Select the icon highlighted as shown below, which will let you browse for the required ISO file.
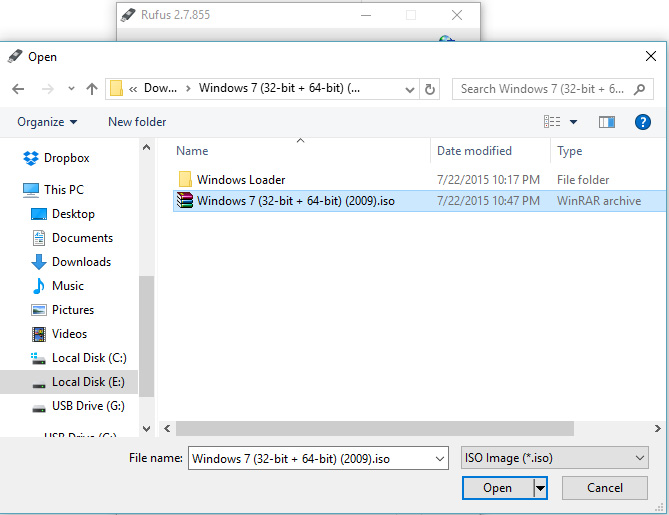
Select the file by left clicking on it once and then clicking on Open.
Rufus will now have filled out the fields for you. All you have to do now is hit Start.
Note, if you are using a USB stick that is too small, like using a 4GB USB for an ISO that is larger than 4GB you will get the following error:

If your USB is the correct size then you will get a standard warning telling you that any data/partitions that was on the USB before starting the process will be permanently deleted
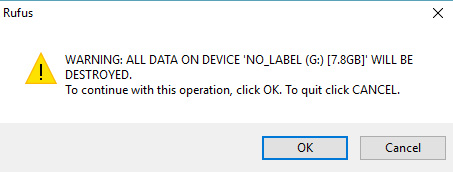
Click OK, to start.
How long the process will take to complete will depend on the specs of your computer, the USB (read/write speeds) and the size of the ISO you are using.
once the process complete you’ll have a bootable USB.

Leave a comment